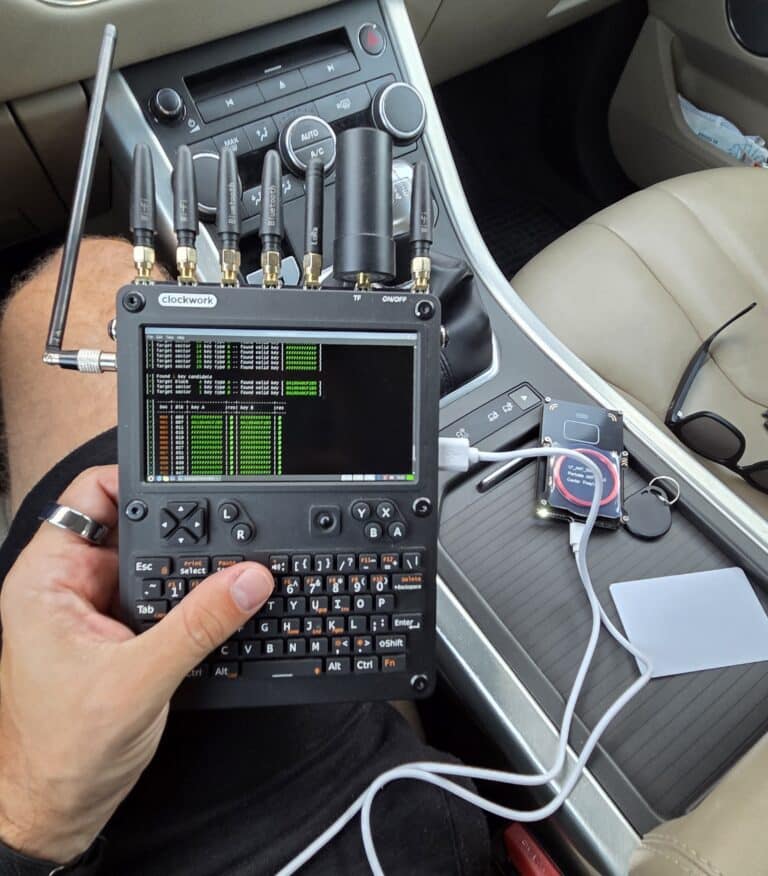
The ClockworkPi uConsole is already an interesting portable Linux computer. By connecting a Proxmark3, it can also become portable RFID research for exploring and understanding contactless cards and tags, cloning them and identifying how different cards work and their security.
This beginner-friendly guide explains how to install the Proxmark3 client, compile the matching firmware, connect the hardware, and verify that everything works. It assumes that your uConsole runs a Debian or Ubuntu-based Linux image. I am running Bookworm OS.
You can watch installation steps also on YouTube:
Important: Only examine RFID cards, tags, and access-control systems that you own or have explicit permission to test. Installing the software is safe, but using it against someone else’s credential or access system may be illegal and unethical.
What is Proxmark3?
Proxmark3 is a tool designed to identify contactless technologies and, where supported, read, write, and emulate RFID cards and tags. It helps researchers examine what type of credential they have and understand how it communicates with a reader.
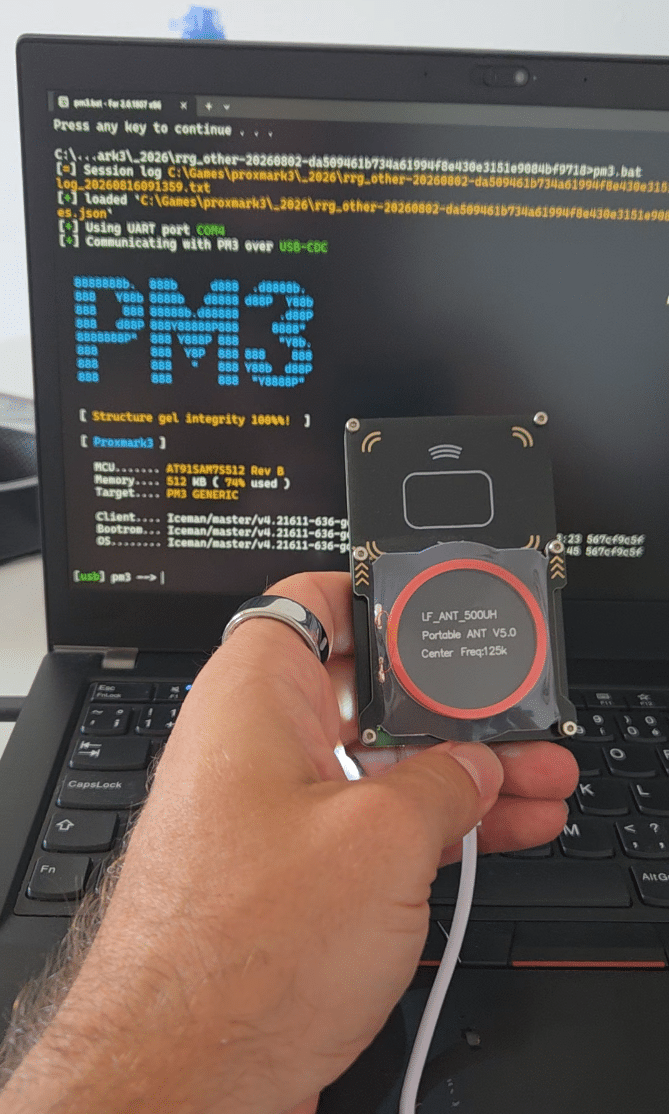
In simple terms, Proxmark3 handles the RFID communication, while the uConsole provides the screen, keyboard, and software needed to control it and view the results.
The system consists of three main software components:
- The client, which runs on the uConsole
- The firmware, which runs on the Proxmark3 hardware
- The bootloader, which starts the firmware on the Proxmark3
These components should come from the same source-code version. Mixing an old client with newer device firmware can cause compatibility problems.
In this guide, we will use the actively maintained RFID Research Group, or RRG, version of the Proxmark3 software.
Why use Proxmark3 with a uConsole?
The uConsole does not replace the Proxmark3. It simply acts as the host computer. The Proxmark3 hardware generates and receives the RFID signals, while the uConsole provides the user interface and processing environment. In a simple terms, it its small and portable.
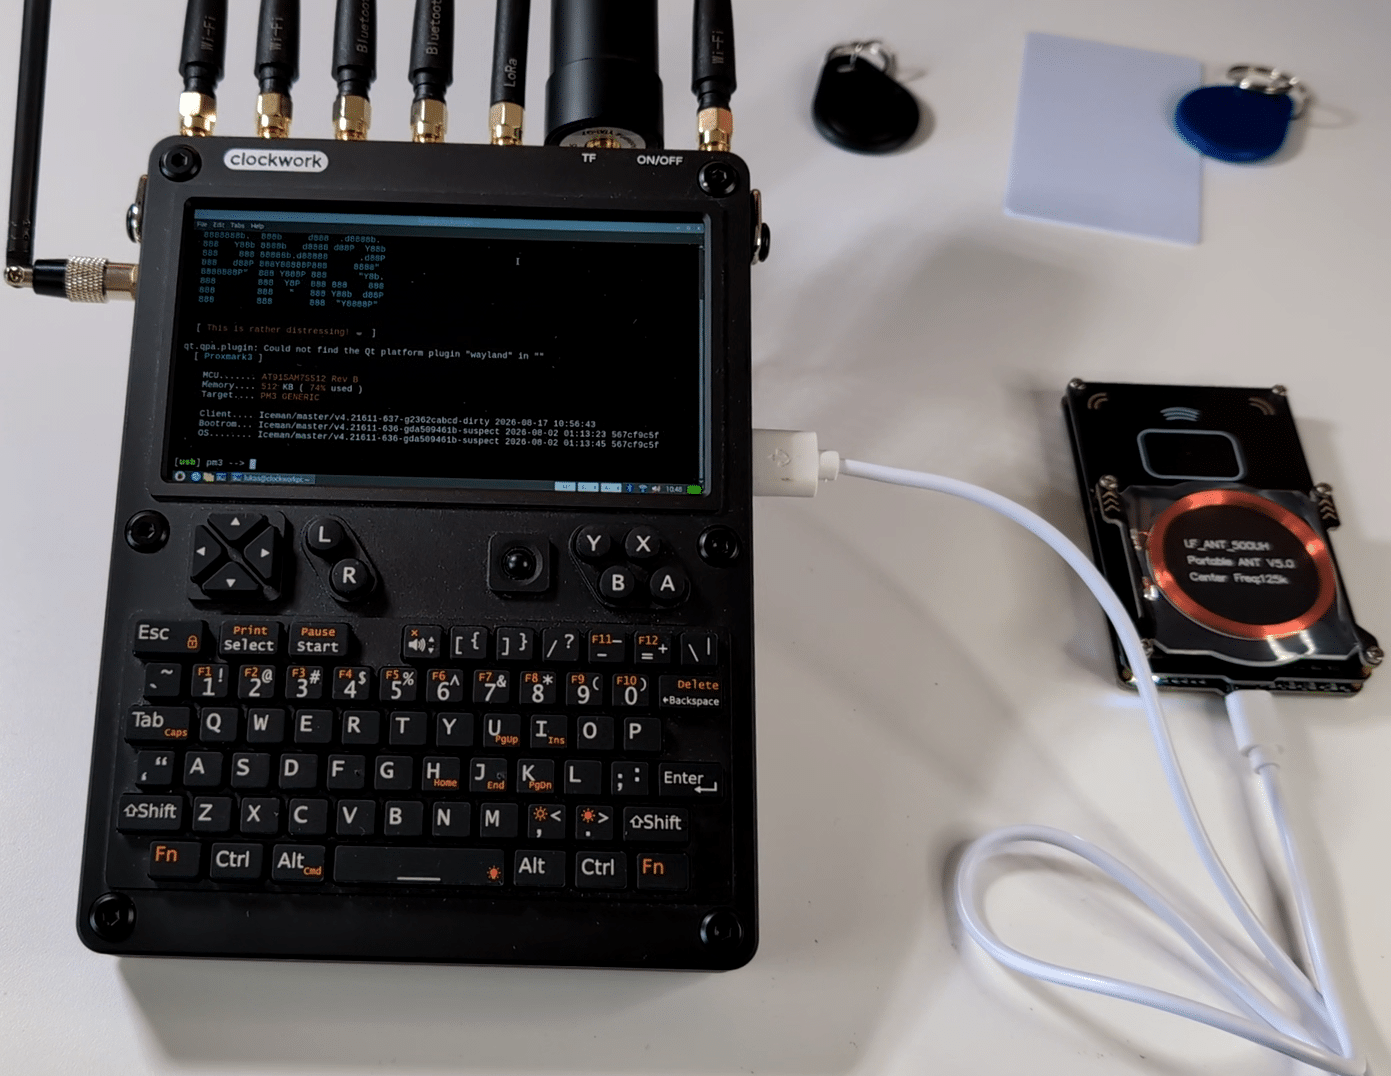
What you will need
Before starting, prepare the following:
- A ClockworkPi uConsole running Debian or an Ubuntu-based Linux distribution
- A Proxmark3 device
- A compatible USB data cable
- Internet access on the uConsole
- Sufficient free storage
- A test RFID card or tag that you own
Make sure the cable supports data communication. Some USB cables are designed only for charging and will power the Proxmark3 without allowing Linux to detect it.
This guide covers both the Proxmark3 Easy.
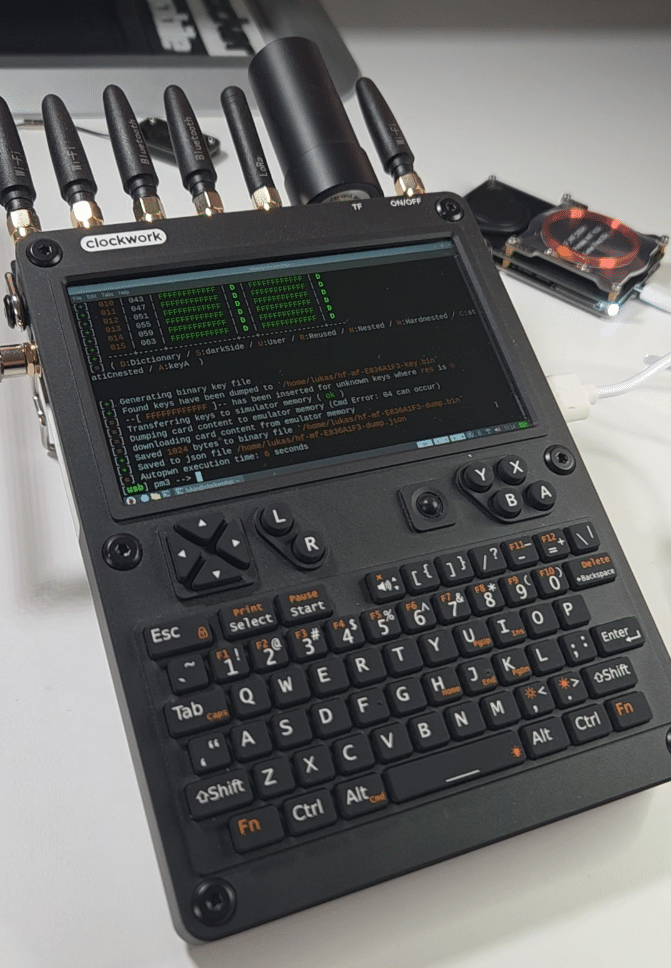
Install steps
I will follow Linux install steps available at GitHub of RFID Research Group.
Step 1: Update the uConsole
Open a terminal on the uConsole and update the package list:
sudo apt update
Install available updates:
sudo apt upgrade -y
You can also remove packages that are no longer needed:
sudo apt autoremove -y
Updating first reduces the risk of running into dependency conflicts during compilation. The official Proxmark3 Linux documentation also recommends updating the operating system before installing the required packages.
Step 2: Install the required packages
The Proxmark3 client and firmware are distributed as source code. This means the uConsole must compile them before they can be used.
Install the required build tools and libraries:
sudo apt-get install --no-install-recommends git ca-certificates build-essential pkg-config \

libreadline-dev gcc-arm-none-eabi libnewlib-dev qt6-base-dev \

libbz2-dev liblz4-dev zlib1g-dev libbluetooth-dev libpython3-dev libssl-dev libgd-dev
The other packages provide the compiler, Git, terminal support, compression libraries, cryptographic libraries, Python integration, and additional features used by the client. This dependency set follows the Debian-family.
Step 3: Download the Proxmark3 source code
Download the RRG/Iceman repository:
git clone https://github.com/RfidResearchGroup/proxmark3.git
Enter the new directory:
cd proxmark3
The repository contains the client, firmware, bootloader, documentation, FPGA components, and platform configuration files.
Step 4: Check which Proxmark3 model you have
Before compiling, identify your hardware.
The two most common possibilities are:
- Proxmark3 Easy, including many lower-cost generic variants
- Proxmark3 RDV4
The firmware must be built for the correct platform.
Do not assume that a device is an RDV4 because it was advertised simply as “Proxmark3.” Proxmark3 Easy and RDV4 use different build configurations.
Step 5: Configure the build
Copy the sample platform configuration:
mv Makefile.platform.sample Makefile.platform
Open it in a text editor. For example:
nano Makefile.platform
Configuration for Proxmark3 Easy
Find the platform configuration and select the generic Proxmark3 target.
The relevant part should look similar to this:
#PLATFORM=PM3RDV4
PLATFORM=PM3GENERIC
Save the file in Nano with Ctrl+O, press Enter, and exit with Ctrl+X.
Configuration for Proxmark3 RDV4
For an RDV4, keep the RDV4 platform:
PLATFORM=PM3RDV4
Do not select both platforms at the same time.
Step 6: Compile the Proxmark3 software
Start a clean compilation:
make clean && make -j2
The -j2 option allows two compilation tasks to run in parallel. This is a reasonable starting point for a small ARM-based computer because it provides some parallelism without using excessive memory.
Compilation can take several minutes on the uConsole. This is normal.
After compiling, run the final installation command to finish the setup:
sudo make install
The build produces the Linux client and the firmware images required by the connected Proxmark3. The bootloader, firmware, and client are built from the same repository version to keep them compatible.
Step 7: Connect the Proxmark3
Connect the Proxmark3 to the uConsole using a USB data cable.
If nothing appears, try the following:
- Disconnect and reconnect the Proxmark3.
- Try another USB port or adapter.
- Replace the USB cable with a known data cable.
- Check whether the device powers on.
- Run
dmesgimmediately after connecting it. - Avoid connecting it through an unpowered or unreliable hub.
A very common beginner problem is a charging-only USB cable.
Step 8: Flash matching firmware, if proxmark3 is not flashed
If flashed or your are running the same version, you can skip this step.
After compiling the correct platform connect the Proxmark3 and return to the repository:
cd proxmark3
To flash both the bootloader and main firmware, run:
./pm3-flash-all
If the correct bootloader is already installed and you only need to update the main firmware, use:
./pm3-flash-fullimage
Step 9: Start the Proxmark3 client
From the repository directory, launch the client with:
pm3
Depending on the environment and detected serial device, you may need to specify the port:
pm3 /dev/ttyACM0
When the client connects successfully, you should see a prompt similar to:
pm3 -->
You are now inside the Proxmark3 interactive command environment.
Step 10: Verify the hardware
Before reading any test card, check the Proxmark3 itself.
Display version information
Run:
hw version
This shows information about the client, firmware, bootloader, and device. Check that the client and firmware belong to the same general build or repository version.
A major mismatch is a sign that the device firmware should be updated.
Check antenna tuning
Run:
hw tune
This tests the low-frequency and high-frequency antennas.
A healthy device should report results indicating that its LF and HF antennas are operating correctly, though the precise values vary by model and environment.
The uConsole, its battery, internal electronics, and enclosure components may affect antenna measurements if the Proxmark3 is placed directly against it.
Step 11: Perform a safe first test
Use only a card or tag that you own.
If you do not know which technology it uses, automatic search commands can help identify supported low-frequency or high-frequency technologies.
For a low-frequency laboratory tag:
lf search
For a high-frequency laboratory tag:
hf search
These searches attempt to identify supported technologies and display information that the device can retrieve.
A successful detection does not mean that the entire card has been copied. It may mean only that Proxmark3 recognized the communication protocol or read publicly available information.
Reading, dumping, emulating, and cloning are different outcomes:
- Reading retrieves information
- Dumping saves readable memory
- Emulation makes a device behave like a supported credential
- Cloning creates another credential that a target system accepts as equivalent
The exact result depends on the card technology, security configuration, keys, reader behavior, and surrounding access-control system.
Where to Buy
If you’re looking to build a similar setup, you can order ClockworkPi with both computing modules uConsole CM4 or more powerful CM5 with 8 GB RAM as well as other expansion boards from European Sapsan e-shop. They also offer worldwide shipping, making it a convenient source for outside Europe as well.
Final thoughts
Installing Proxmark3 on the uConsole requires more work than installing a typical desktop application. That is because you are not installing only one program. You are building a client for the uConsole and matching firmware for specialized RFID hardware.
Once configured, however, the combination is surprisingly practical. The uConsole provides the keyboard, screen, storage, Linux environment, and portability, while the Proxmark3 handles the actual RFID communication.
With that foundation in place, the uConsole can become a capable portable environment for learning how RFID technology works without depending on a full-size laptop.