
![]()
In this guide, I will walk you through the process of setting up a Raspberry Pi with a 3.5-inch touchscreen running Kali Linux. This compact yet powerful setup is perfect for on-the-go penetration testing and cybersecurity research. I’ll cover everything from flashing the Kali Linux image onto a microSD card, logging in for the first time with an external display, installing touchscreen drivers, configuring the screen settings, and setting up a portable power solution. Additionally, we will cover some security configurations such as enabling root login, setting a password, and configuring SSH access over root.
By the end of this tutorial, you’ll have a cost-effective, portable penetration testing box that can be powered via an external battery or even a smartphone—making it easy to carry and use in different environments. It will be very similar to its smaller sibling called Pi-Tail I mentioned in my other post when building headless Portable Hacking Lab.
While this guide is specifically tailored for mine Raspberry Pi 4 with a 3.5-inch touchscreen, the overall process can be adapted to other Raspberry Pi models and different touchscreen sizes.
It Is a Toolbox, Not a Magic Hacking Box
One of the biggest misconceptions about penetration testing setups—especially those running Kali Linux—is that they are some kind of “magic hacking machine” that can automatically break into systems with the push of a button. This is far from reality.
What we are building here is a toolbox, not an automated hacking device. Just like a professional mechanic carries a set of wrenches, screwdrivers, and diagnostic tools, a penetration tester needs a collection of security tools, scripts, and utilities to assess and secure networks. The real skill lies in understanding how these tools work and when to use them.
Disclaimer
This blog is intended solely for educational and ethical purposes. The information provided is meant to help cybersecurity professionals, ethical hackers, and technology enthusiasts understand how to set up and use Kali Linux on a Raspberry Pi for legitimate security testing and research.
Unauthorized access to networks, systems, or devices without explicit permission is illegal and may result in severe legal consequences. Always ensure you have the proper authorization before conducting any penetration testing or security assessments.
The author of this blog do not condone or encourage any form of illegal hacking, cyberattacks, or unethical behavior. Use this knowledge responsibly, respect privacy laws, and always follow ethical hacking principles.
Installing Kali Linux on Raspberry Pi
Kali Linux is a penetration testing-focused operating system that comes with a vast collection of tools for security testing. To install it on a Raspberry Pi 4, follow the steps below.
Step 1: Download the Kali Linux Image
First, download the Kali Linux ARM image for Raspberry Pi from the official Kali Linux website. Ensure you select the Raspberry Pi version.
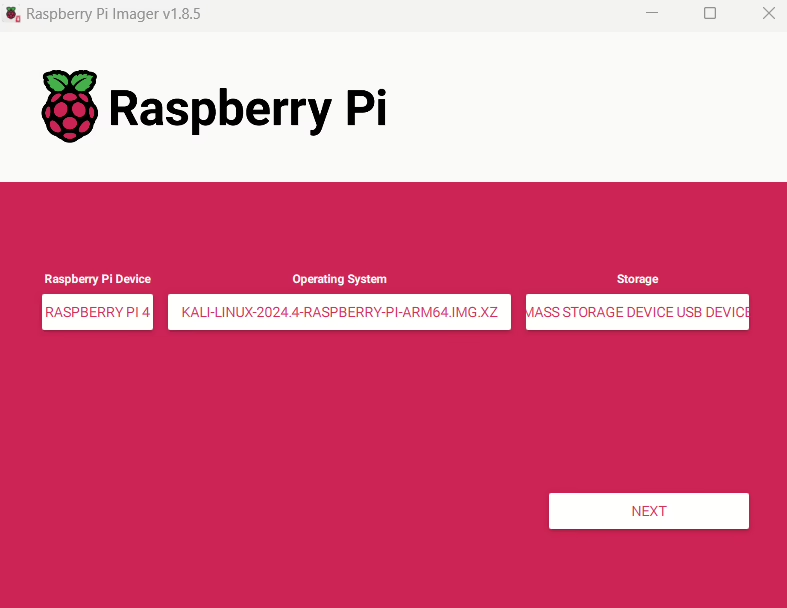
Step 2: Flash Kali Linux to a MicroSD Card
To install Kali Linux on your microSD card (32GB or larger recommended), use balenaEtcher or Raspberry Pi Imager:
- Insert the microSD card into your computer.
- Open balenaEtcher.
- Select the Kali Linux image file.
- Choose the microSD card as the target.
- Click “Flash” and wait for the process to complete.
Once done, insert the microSD card into the Raspberry Pi.
First-Time Login Using External Display
Since the touchscreen will require additional driver installation, we will start with a Micro HDMI external display.
Step 1: Boot the Raspberry Pi
- Connect the micro HDMI cable to an external monitor.
- Attach a USB keyboard and mouse.
- Insert the microSD card and power on the Raspberry Pi.
Step 2: Default Login Credentials
The default credentials for Kali Linux are:
- Username: kali
- Password: kali
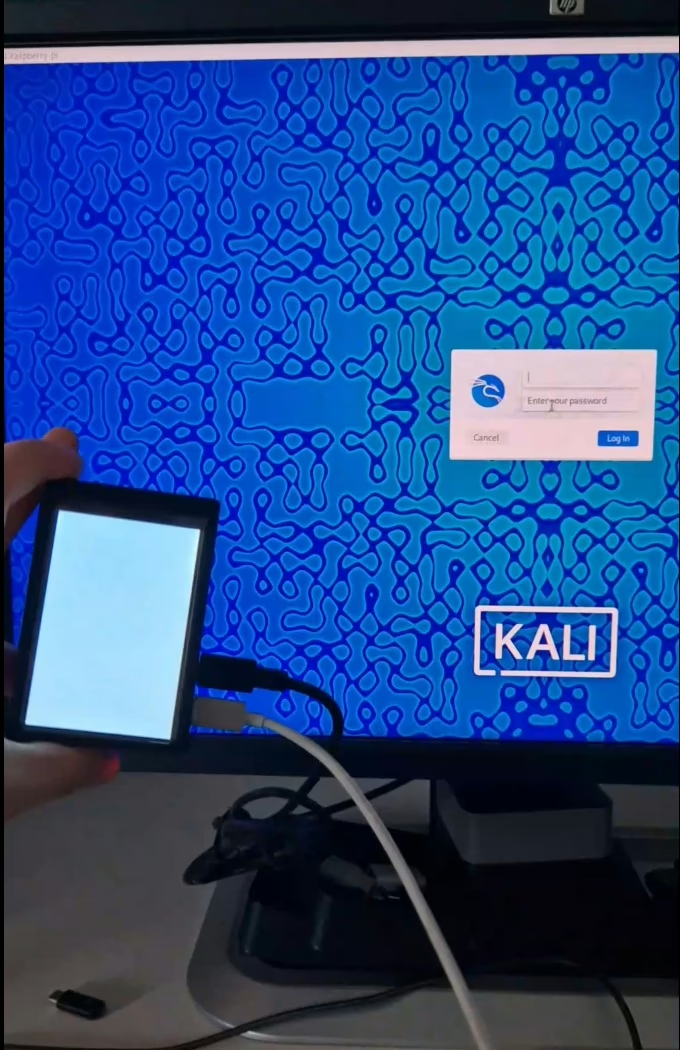
After logging in, you will be greeted with the Kali Linux desktop.
Update and Upgrade the System
Keeping your system up to date is crucial for security and performance. Before installing the touchscreen drivers, we need to ensure the latest updates are installed.
Run the following command to update the package lists and upgrade installed packages:
sudo apt update && sudo apt full-upgrade -yThis command:
- Fetches the latest package lists (
apt update) - Upgrades all installed packages (
apt full-upgrade -y)
Once the upgrade is complete, reboot the system to apply changes:
sudo rebootInstalling Touchscreen Drivers and Enabling Output to LCD
To use the 3.5-inch touchscreen, we need to install the proper drivers. A useful tool for this is LCD-show-kali, which is available on GitHub.
Step 1: Install Touchscreen Drivers
- Clone the LCD-show-kali repository. I advise to use
lcdwikirepository, to avoid error crashes during boot. I got these when usinghttps://github.com/waveshare/LCD-showrepo.:
git clone https://github.com/lcdwiki/LCD-show-kali.git- Navigate to the directory:
cd LCD-show-kali- Run the installation script:
chmod +x LCD35-show
sudo ./LCD35-show
The system will reboot, and the display should now show the Kali Linux interface.
Additional Screen Configurations
If you need to rotate the screen or adjust the resolution, edit the /boot/config.txt file:
sudo nano /boot/config.txtAdd one of the following lines, depending on your needs:
- 90-degree rotation:
display_rotate=1 - 180-degree rotation:
display_rotate=2 - 270-degree rotation:
display_rotate=3
Save the file and reboot:
sudo rebootSetting Up Security Configurations
Enable Root Login and Set Password
By default, Kali Linux disables the root account login. To enable it and set a root password, run:
sudo passwd rootYou will be prompted to enter a new root password.
For detailed instructions, refer to this guide.
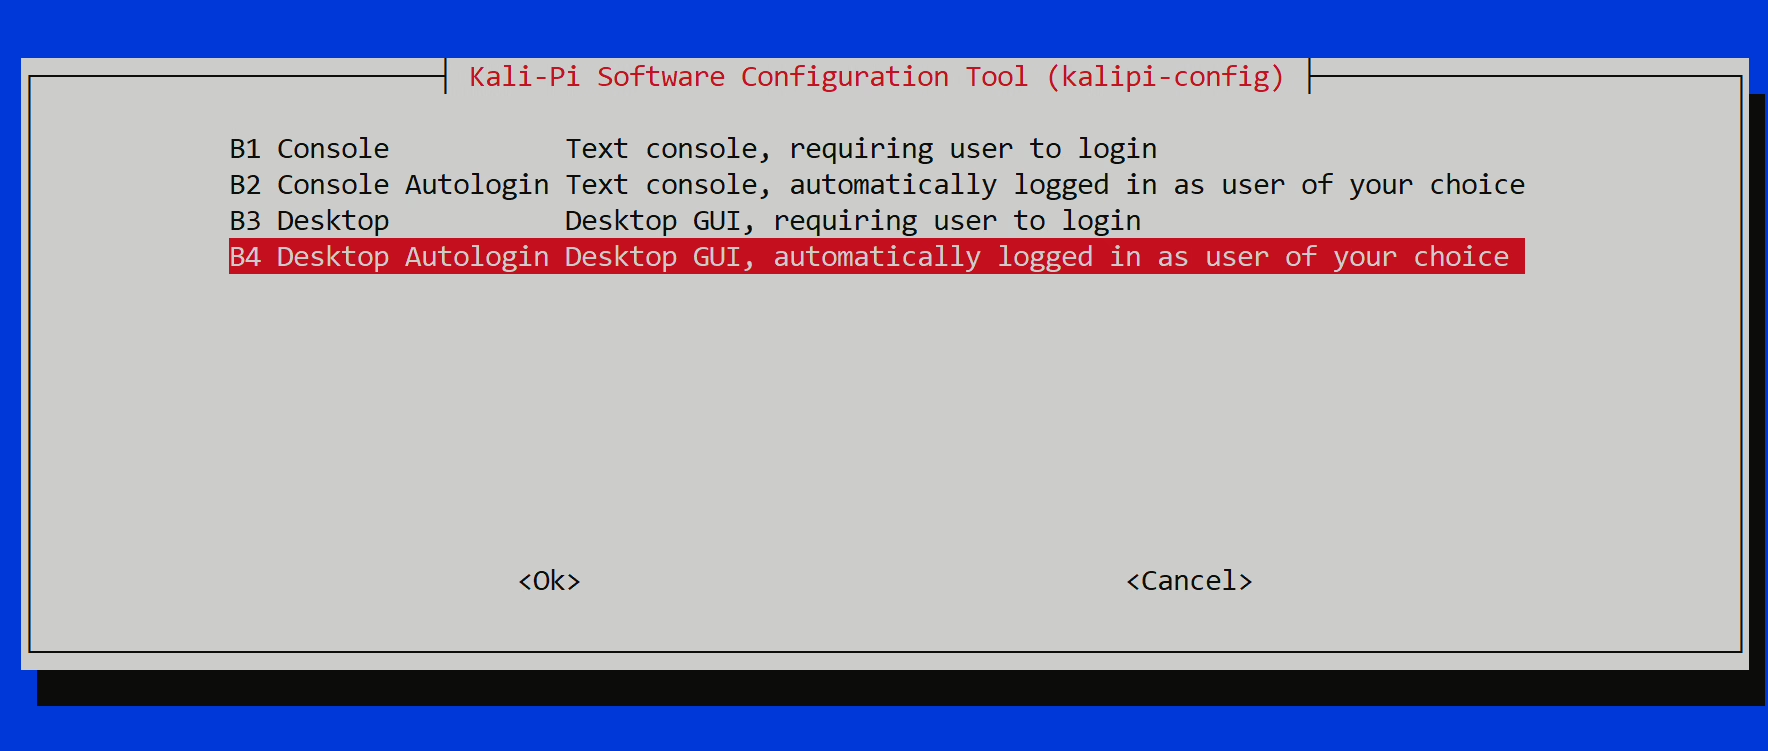
Enable Auto-Login
To avoid entering credentials every time you boot up, configure auto-login. This is useful if you would like to connect to the box over SSH using different device such as smartphone run:
sudo raspi-configFrom Boot Options -> Desktop / CLI -> Desktop Autologin
Enable SSH Access for Root
If you want to remotely access your Kali Linux setup via SSH as root. This step is not necessary, because you can still access the box using kali credentials.
- Edit the SSH daemon configuration:
sudo nano /etc/ssh/sshd_config- Find and modify the following line from
notoyes:
PermitRootLogin yes- Restart the SSH service:
sudo systemctl restart sshNow you can remotely access your Kali box using:
ssh root@<your_pi_ip_address>Powering the Portable Kali Linux Box
To make this setup portable, we need a reliable power source.
Option 1: External Battery Pack
- Use a 5V/3A power bank (like you would use for smartphones).
Option 2: Powering via Smartphone
- Many modern Android phones support reverse USB-C charging.
- Connect the phone to the Raspberry Pi over OTG adapter.
Efficiently Controlling Your Raspberry Pi: Touchscreen vs. External Options
Controlling the Raspberry Pi with a touchscreen is possible using the on-screen keyboard, but it takes up valuable screen space, making navigation and typing less efficient. For a more convenient experience, especially when working on the go, using a small Bluetooth keyboard can greatly improve usability while keeping the setup lightweight and portable. Alternatively, for remote access and full control, users can connect to the Raspberry Pi over SSH for command-line management or use VNC for a graphical interface, both of which can be done directly from a smartphone or laptop. These options allow for greater flexibility, ensuring you can operate your portable Kali Linux box efficiently in any environment.
Using Onboard Virtual Keyboard for Touchscreen Input
For users relying solely on the touchscreen, a practical way to input text without a physical keyboard is by using Onboard, a feature-rich virtual keyboard. It can be installed easily with:
sudo apt install onboardOnboard is highly customizable, offering features like auto-show when selecting a text field, making typing more seamless. It is also scalable and movable, allowing users to position it anywhere on the screen for better accessibility. Additionally, its adjustable opacity ensures that it doesn’t obstruct critical elements, which is especially useful on a small touchscreen display.

Practical Use Cases
A Raspberry Pi running Kali Linux serves as a powerful and portable cybersecurity toolbox, enabling network reconnaissance, WiFi security testing with external adapters, Bluetooth analysis using specialized dongles, RFID/NFC testing with Proxmark3, MITM attacks with Bettercap, web application vulnerability assessments and others. This setup is lightweight, cost-effective, and versatile, making it ideal for ethical hackers and security professionals who need a mobile penetration testing lab.
Conclusion
By following this guide, you have created a fully functional, portable penetration testing box using the Raspberry Pi and Kali Linux. This setup allows for on-the-go cybersecurity assessments, network testing, and ethical hacking.
With a touchscreen interface, root access, SSH support, and portable power, you now have a mobile ethical hacking toolkit that fits in your pocket.
Nice